|
Defining styles and colors |

|

|
|
|
Defining styles and colors |
|
|
Defining styles and colors
|
Defining styles and colors |
|
|
|
|
Defining styles and colors |
|
|
The new booking calendar can be customized in several different ways. You have three options as described below
How to define your own colors and styles using built-in-themes (Easy)
First and foremost we recommend that you try the built-in themes. You can select one of the built-in themes when you generate the code for the booking calendar.
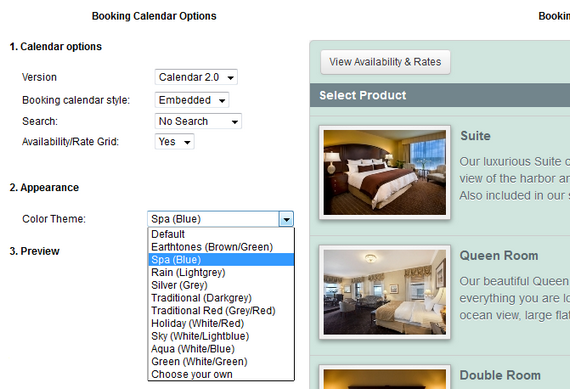
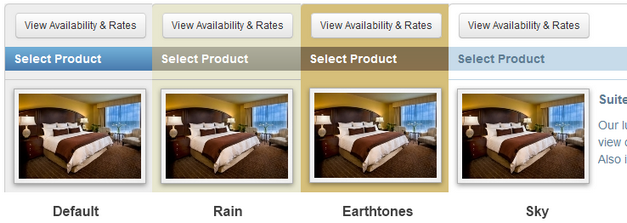
Using built-in themes
Below you can see some of the most popular themes in the system.
How to define your own colors and styles using the color selector (Medium)
This method allows you to choose your own color themes by using the color selector feature. In the example above, select "Choose your own" from the Color Theme drop down menu, and pick the color that works best for you.
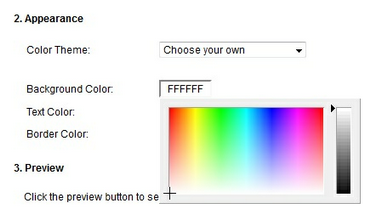
Color Selector
How to define your own colors and styles using your own stylesheet (Advanced)
If none of the built-in themes matches your website you can define the styles in your own stylesheet. See steps below.
Important! Creating your own theme requires working knowledge of HTML and CSS. |
Step 1 - Download existing CSS files
Download the following CSS files from WebReserv:
Main CSS file: http://www.webreserv.com/assets/css/bookingcalendar-2.0/bookingcalendar-latest.css
Theme CSS file: http://www.webreserv.com/assets/css/bookingcalendar-2.0/theme-blank.css
Step 2 - Modify the CSS file
When the booking calendar loads, it will first include the main booking calendar CSS file followed by the theme CSS file. You can override as few or as many styles in the theme CSS file as you want.
Use your favorite editor to modify the theme-blank.css files. It includes a few basic style changes. If you want to override more styles, you can find the original style definition in the main CSS file.
We recommend using Firefox and Firebug to test out color combinations.
Step 3 - Test CSS file
To test the CSS file, include the parameter &css=[path_to_css] in the URL to the booking calendar. Copy and paste the booking calendar directly into your browser such as
https://secure.webreserv.com/services/bookingcalendar.do?businessid=[your_business_id]&css=[path_to_css_file].
Example:
https://secure.webreserv.com/services/bookingcalendar.do?businessid=DCSA&css=d:\mytheme.css
Not all browsers allow you to use a local file as shown in the example above. If your browser does not allow you to access a local file, you will need to upload the CSS file to a public website such as your own website and then point the CSS parameter to that website.
Example:
https://secure.webreserv.com/services/bookingcalendar.do?businessid=DCSA&css=http://www.mywebsite.com/themes/mytheme.css
Step 4 - Send to WebReserv (optional)
When you are done developing the CSS, you can either store in your own website or you can send it to WebReserv support to have it stored on our secure servers. The latter option is preferred if you do not have an SSL certificate for your website as browsers otherwise will show a security warning or may not show the customized theme at all.
Important! This option of storing your CSS on WebReserv's secure servers is available to WebReserv Gold customers only. |
For more information. . .
Overview of the Booking Calendar
Adding the Booking Calendar to your website